Let's make a NEGAI Clay Doll
of which original icon is designed by Ms.OKAZAKI Akane.
It is very simple and easy for you
to make a doll by yourself.
Try!!
Jump to Japanese Site
|
Let's make a NEGAI Clay Doll
|
|
Materials to prepare
Mainettes is brand name of the white mineral clay
made by Nisshin Flour Milling Inc., Japan
Color Mainettes is coloring pigment clays to be mixed with
the white Mainettes.
Where you can find them.
In Japan, these materials are available at
Tokyu Hands Store in the major cities or stationary
stores in the most towns.
If you are not in Japan, please ask stationary
stores for paper clay as substitute.
Paper Patterns
 Please click here to enlarge the data. |
The paper patterns shown here are used to
make the clay balls and flat plates. This pattern can be downloaded to print. |
 |
|
Process to make
 |
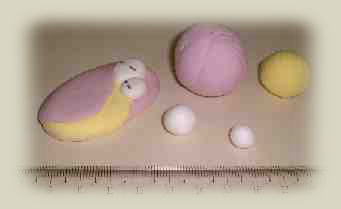
The photo shows three balls, white, red and blue with diameter 3 cm, 5 cm and 3 mm respectively. In addition, another three white balls with diameters of 2 cm, 12 mm and 10 mm, and a yellow ball with a diameter of 5 mm are formed. |
 |
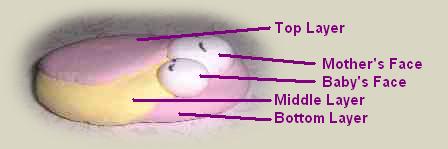
For the top Layer and the bottom Layer, the
color mixing process is to :
|
 |
The new ball will be light pink. |
 |
Using the same procedure, a light yellow
ball is created by mixing the yellow ball
of 5 mm diameter into the white ball of 2
cm diameter. The white balls with diameters of 10 mm and 12 mm will be used at the end for the baby's and mother's face respectively. |
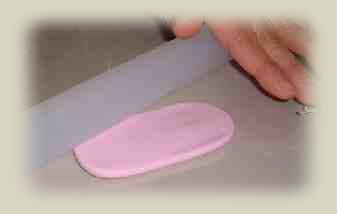 |
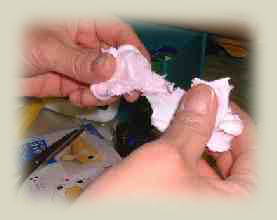
Now Let's start to make a doll. Firstly, a sheet to be 5mm of thicness is rolled out from the light pink ball. |
 |
Using the paper patterns to cut out the flat
pink clay from the sheet. The remaining clay shall be formed into a ball anew, and then rolled out to a thickness of 3 mm for the top layer. |
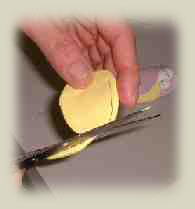 |
To make the.mp3dle layer, the yellow ball
is rolled out to a thickness of 3 mm, then
using the paper patterns, the.mp3dle layer
is cut out. You may throw away the leftover
clay. |
 |
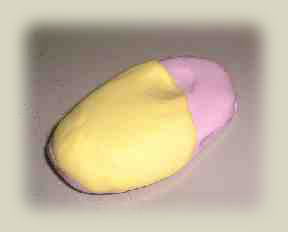
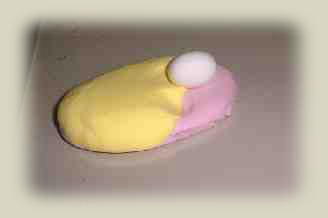
The yellow sheet is placed over the bottom layer to make the basic body. |
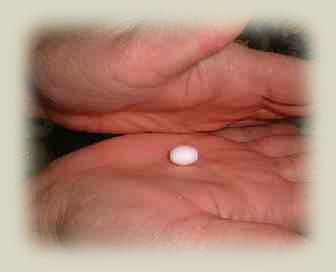 |
Two of the small balls is made into an oval shape for the mother's and baby's face. |
 |
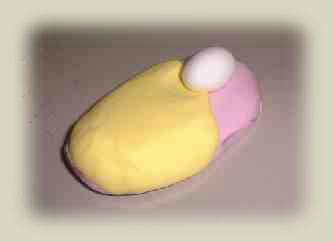 |
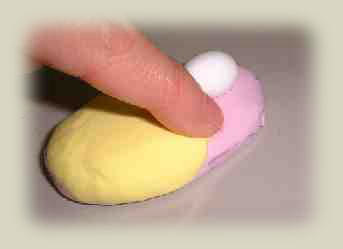
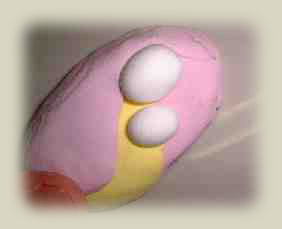
| Press your finger into the basic body so as to make an indent to lay the heads. | |
 |
 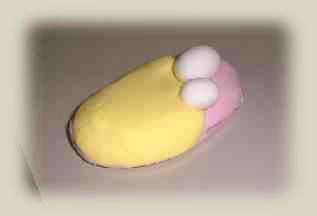 |
| Using your finger, make another smaller indentation for the baby's face. | |
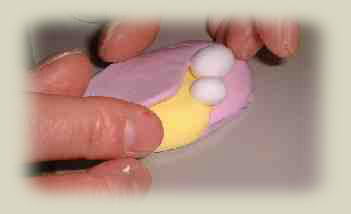 |
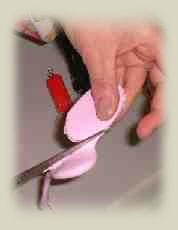
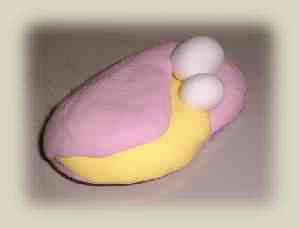
The top layer is used to cover the basic body. |
 |
The top and bottom layers are glued together using water. The sides are smoothed down, as can be seen in the photo. |
 |
|
 |
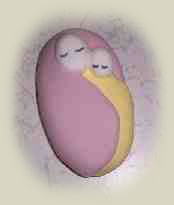
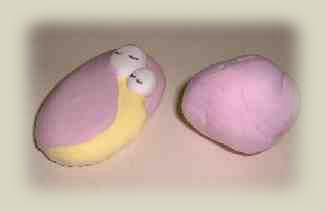
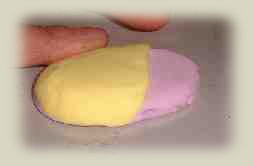
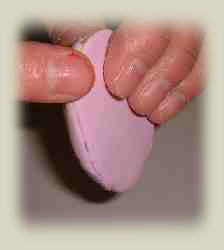
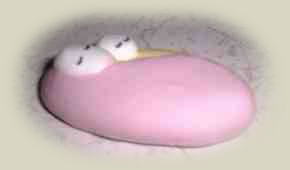
The final clay model should look like the photo on the left. |
 |
Now, using a ballpoint pen, the faces of the mother and baby is painted. |
 |
Finish!! It will take about 10 minutes to make the doll, but the model should be left to harden over night. |
..
Return to 
![]()
| 11 Nov., 2003 | this site established |
| 12 Nov., 2003 | Photo at Nisshin Flour Mill are taken under
the full support of MASUMI'art The background music is "Our wish" TANGO version. |
| 14 Nov., 2003 | Special thanks to Ms.Haruka to correct descriptions as usual. |